 |
Administrator Instructions
1. Open a Command Prompt using an administrator account as seen below.
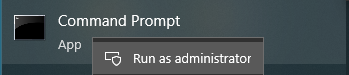
2. Click Yes if prompted to make changes as seen below.

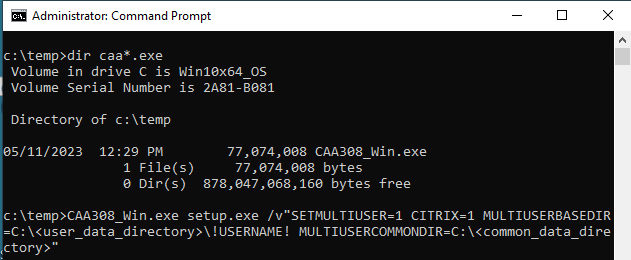
3. Issue the command line as seen in the example below for a multi user installation with two data directories: a common directory (for shared files such as templates) and a user directory for user-specific data
CAA308_Win.exe /v"SETMULTIUSER=1 CITRIX=1 MULTIUSERBASEDIR=C:\<user_data_directory>\!USERNAME! MULTIUSERCOMMONDIR=C:\<common_data_directory>"
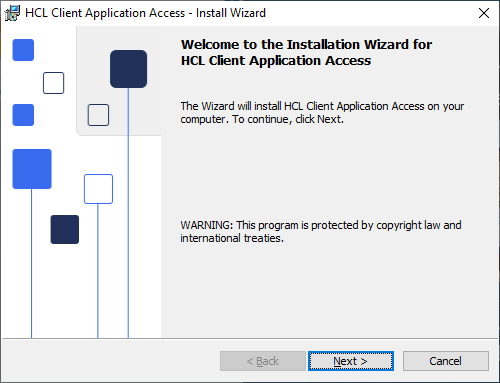
4. Click Next button as seen below.
5. Click I accept the terms in the license agreement , then Next button as seen below.

6. Click Install button as seen below.

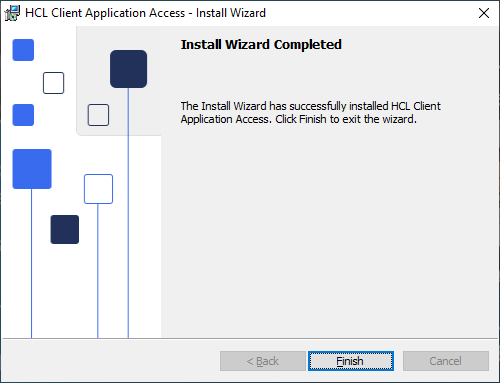
7. Click Finish button as seen below.
End User Instructions (required)
8. Open HCL Client Application Access Windows desktop shortcut as seen below.
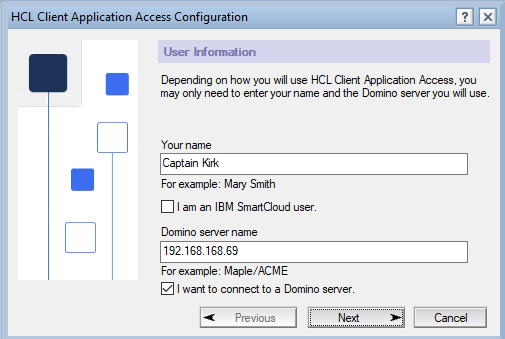
9. Enter your name as displayed in the Notes ID Vault or Notes ID, deselect "I am an IBM SmartCloud user", enter the DNS or IP address of the user's Domino app server in the Domino server name field, then click the Next button as seen in the example below. Note: You can configure local connections to other Domino app servers after HCAA starts. i.e. Click Contacts icon on Open List (vertical toolbar) - Advanced - Connections
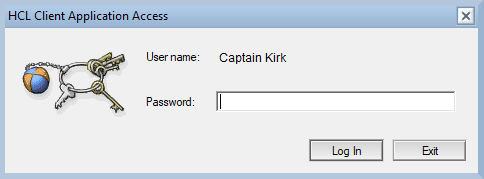
10. Enter your password as seen in the example below. Note: Contact your IT Help Desk or Domino Administrator if you do not know the password.
End User Instructions (optional)
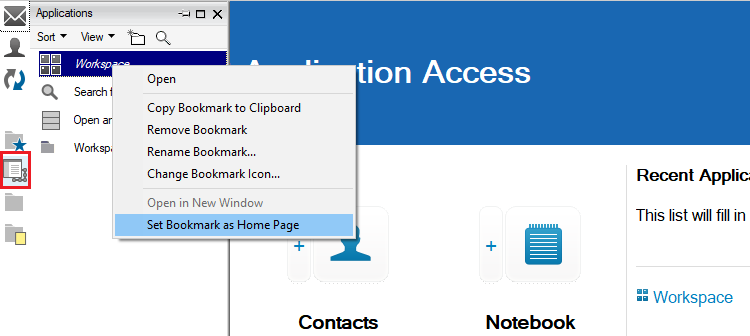
11. Click the Applications icon on the Open List (vertical toolbar), then click Workspace , then right click Set Bookmark as Home Page as seen below.
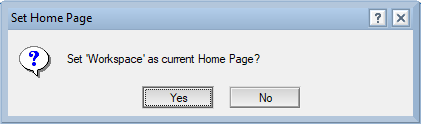
12. Click the Yes button as seen below.
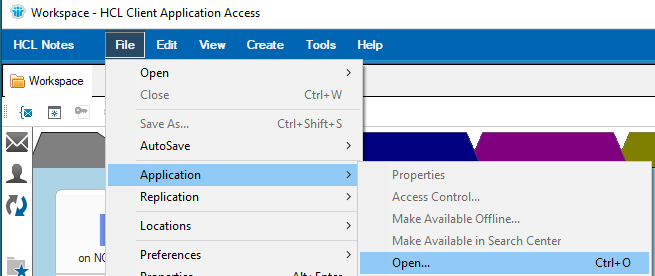
13 Click File - Application - Open... (Ctrl+O) as seen below.
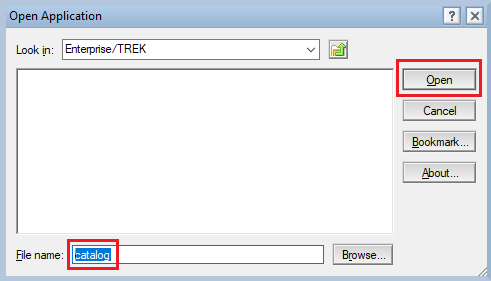
14. Enter the Domino server name in the Look in field, then type catalog in the File name field, then click the Open button as seen in the example below.
15. Application Catalog (aka Notes App Store): Find and select each application you are authorized to use, the click the triangle twistie to expand the title for more detail. Click the Domino server you are authorized to use, then click the Open button as seen in the example below.
i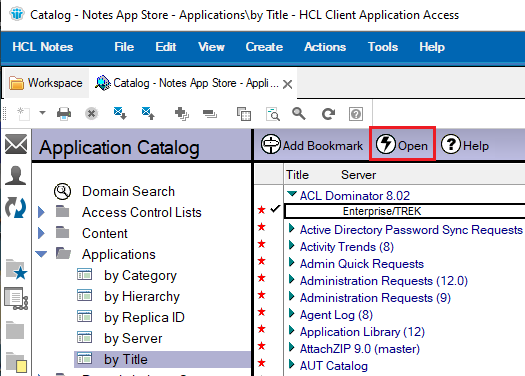
Reference Sources
Installing HCL Client Application Access (HCAA) on Citrix XenApp server
Administrators can follow these steps to install HCL Client Application Access (HCAA) on a Citrix XenApp server.
Considerations for installing and upgrading Notes® on Citrix
Mail, calendar, and contact features are installed with HCL Notes®, including traditional Notes® functionality. Additional sidebar applications can also be installed. Notes® installation is supported on Citrix XenApp; see Notes® System Requirements for details on the current release of Citrix. Also see the considerations topic on Windows™ in the related topics, and the topic on configuring custom data directories.
| |